Everyone is now a photographer thanks to the smartphone revolution, from tourists taking selfies to Instagram influencers with thousands of followers. Because the iPhone camera produces such beautiful images, they are a favorite choice among photographers. We have some great ideas for those interested in iPhone photography who are just getting started that they shouldn't miss out on!

iPhoneography, the practice of taking stunning images with an iPhone, does not require you to be a good photographer. In fact, beginners will enjoy experimenting with the iPhone camera because it is so simple to operate.
iPhones are capable of taking stunning photos, but it's up to the photographer to choose the right subject, come up with a visually appealing composition, and keep their hand steady for a sharp result. Although the iPhone camera continues to improve with each new model, there are still some drawbacks when compared to using a DSLR.
A DSLR will have a higher overall resolution and be better at photographing distant objects as well as adjusting shutter speed and aperture. However, iPhones are more than suitable for the majority of beginning photographers, and some professionals only use iPhones for their work.
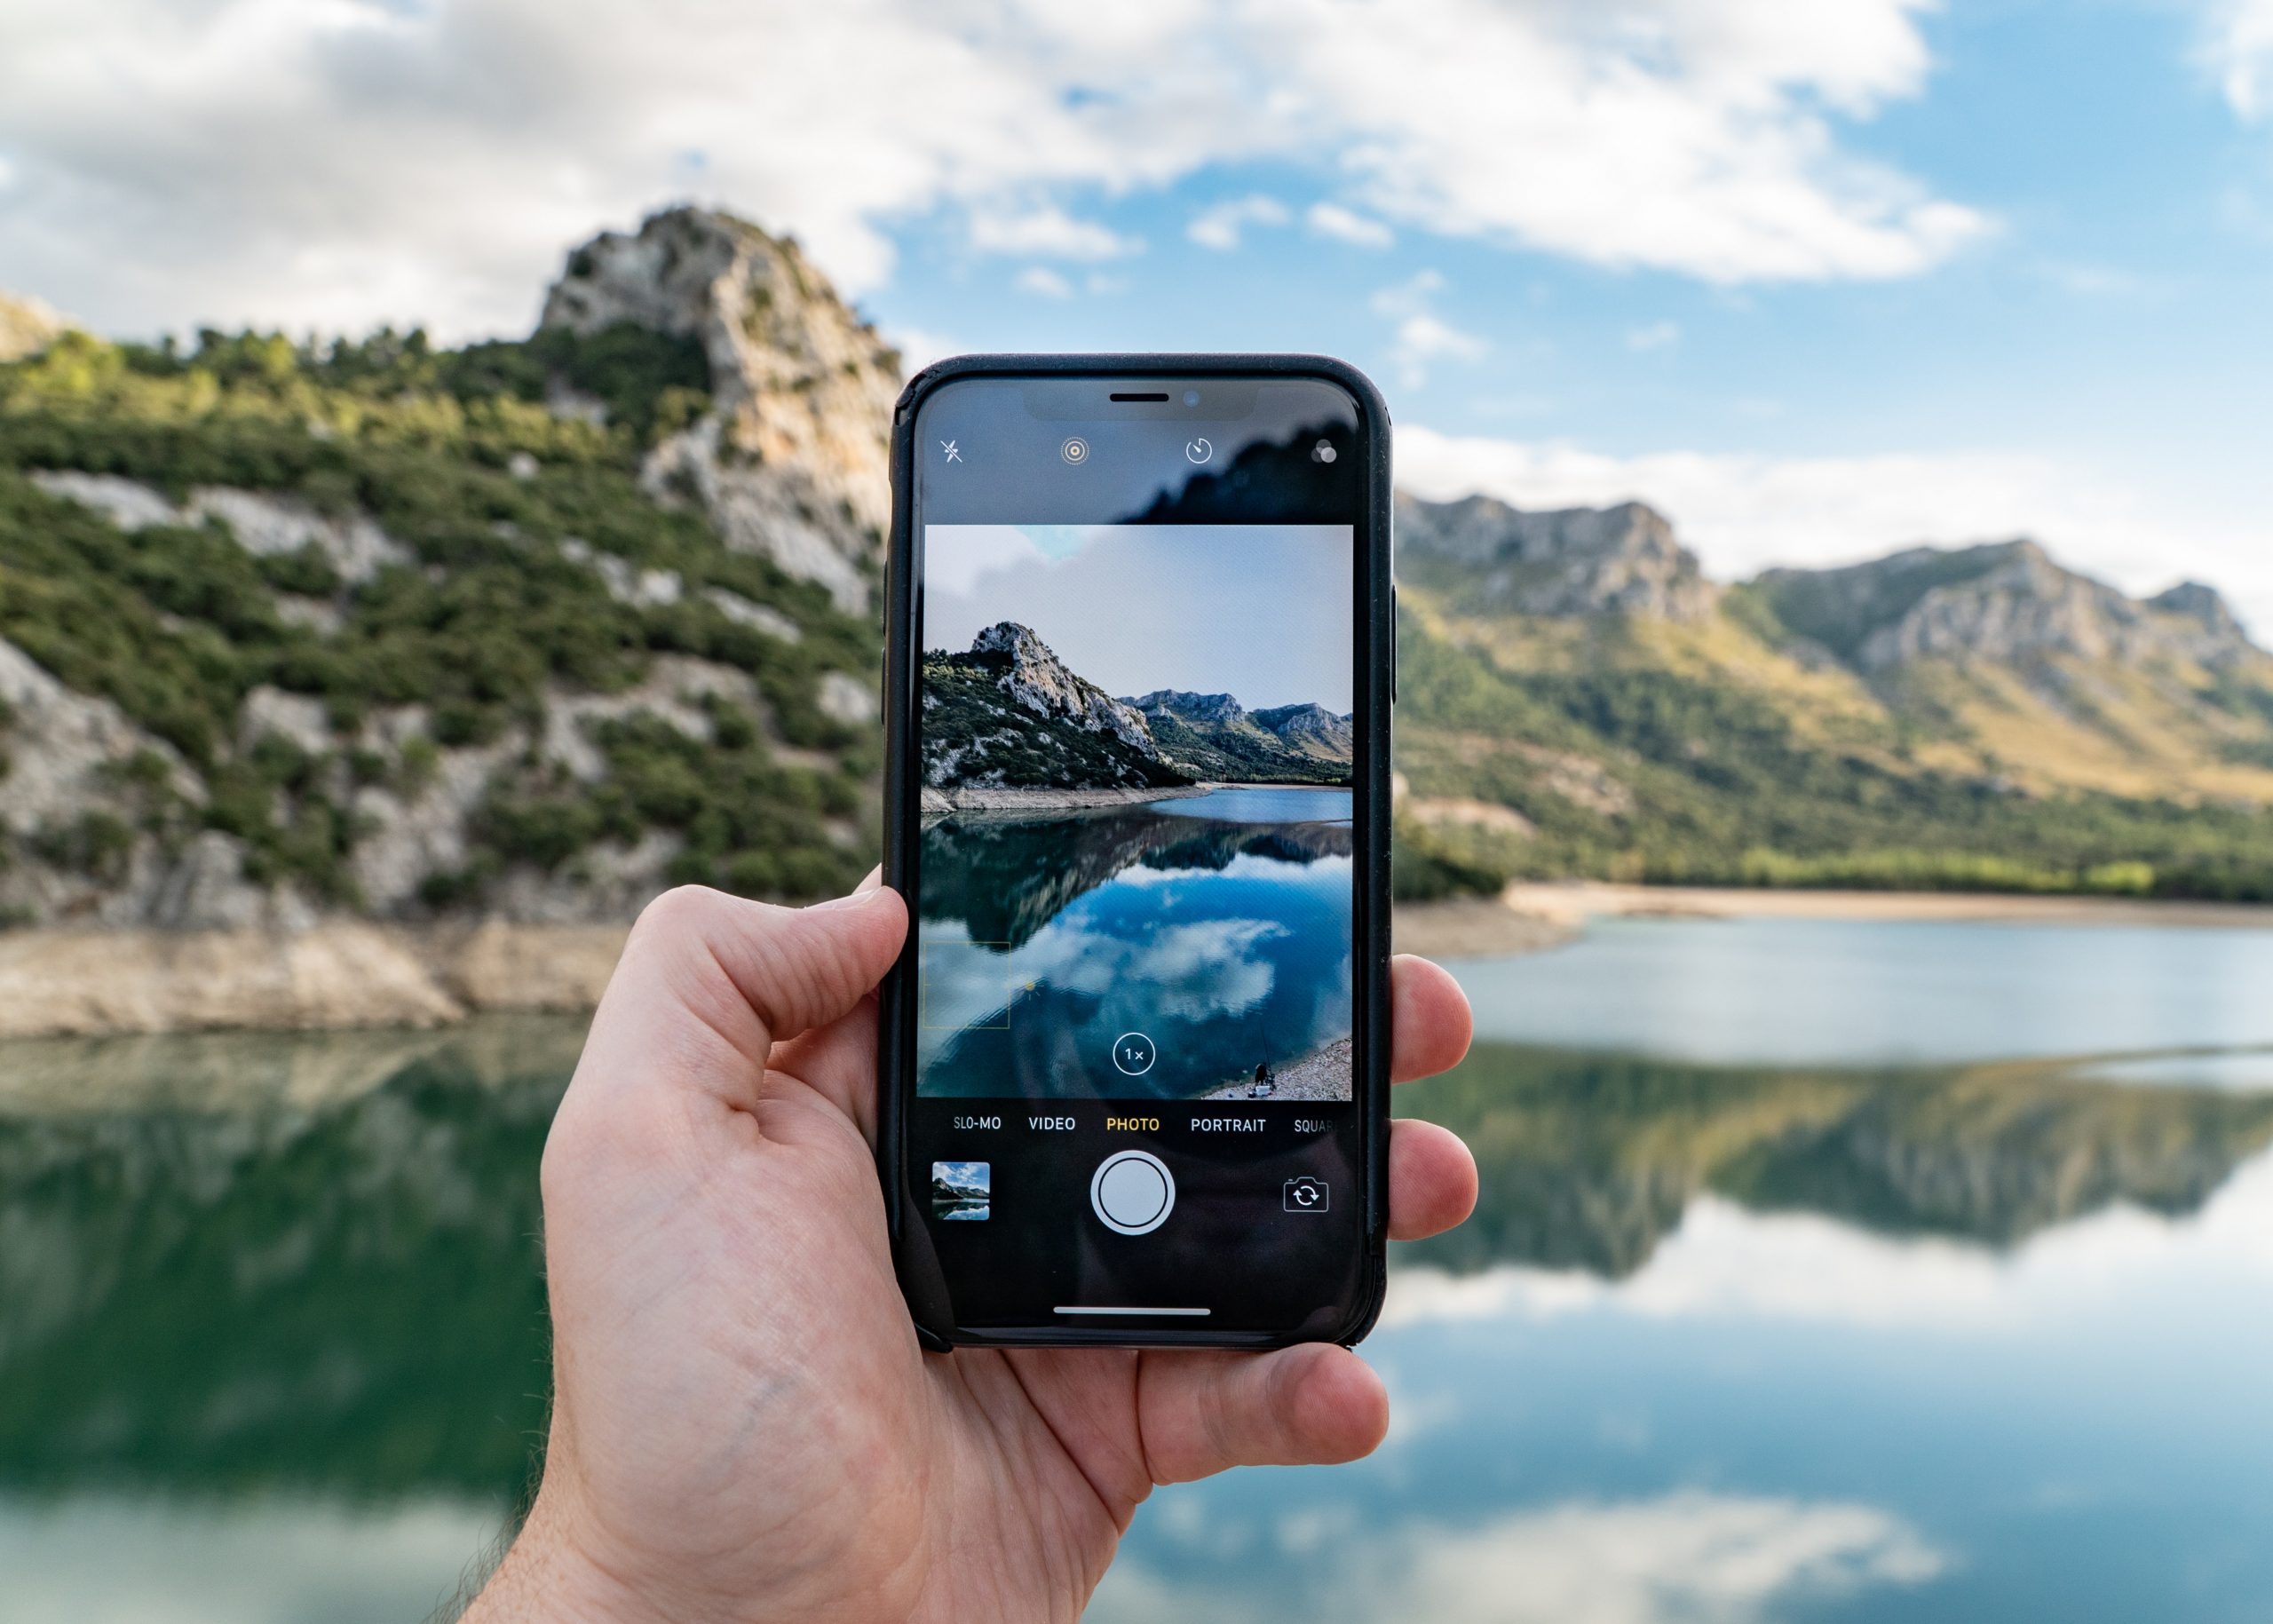
It couldn't be simpler to use your iPhone camera. Launch the camera app, aim the camera at the target, and press the shutter. Your images will appear great right out of the camera thanks to outstanding software and a strong CPU. However, there are things you can do to improve your images even more.
Your iPhone camera will automatically focus when you frame a shot. It's a useful feature, but it's not flawless. You need to use the lock focus feature if you want the camera to lock on what you want. Place your finger on the area of your subject where you would like the camera to focus. Ensure that the focus is locked in place by holding your finger down. On the screen, you will see AE/AF Lock. Tap the shutter button to take a picture.
If you hold your finger on the screen while using the Auto Focus Lock, the Auto Exposure slider also appears. When you are taking a picture, it appears next to the Auto Focus box. By dragging your finger up and down on the slider, you can adjust the exposure level. Your finger will lock the focus and exposure when you hold it down on the yellow box.
Although pressing the large white shutter button on your screen is simple and convenient, it also has a tendency to cause camera shake, which will result in blurry photographs. Did you know that you could use the volume button on the side of your iPhone to take pictures instead of the shutter button?
This will enable you to take pictures with your iPhone while keeping it steady. Use the volume control on your earbuds as a shutter release for even more control, or buy a remote shutter to keep your camera perfectly steady while taking pictures.
In search of the ideal action or nature shot? Use your iPhone's burst mode to shoot a series of pictures so you can afterwards choose the best one to guarantee you get the perfect shot.
Simply keep your finger pressed against the shutter or volume control on an iPhone prior to the iPhone 11 to shoot continuously. When using an iPhone 11 model, you must swipe left on the shutter button before depressing it to capture a sequence of pictures. The shutter button will display the number of images that have been captured.
Using leading lines in your photography is one of the most effective techniques to frame your composition for a more intriguing shot. Find lines in your scene that will bring the spectator into your photo to achieve this. Roads, rivers, fences, shorelines, and architectural lines are all examples of leading lines. You will notice leading lines everywhere you go once you begin searching for them. Check out this article on photography composition rules if you want to learn more about composition.
We previously reported that occasionally, when you touch the shutter button on your iPhone, your phone will wobble slightly, resulting in a blurry photo. Your images will turn out beautifully when you point and shoot while holding your phone for selfies and easy snapshots. But if you want to capture clean, clear images when capturing difficult shots, such as low-light, action, or photos of moving water, you might want to consider buying an iPhone tripod.
Make sure your camera is level while using a tripod to take sharp pictures to avoid having crooked pictures. Before composing your image, swiftly open your compass app to accomplish this. Orient your phone such that the little + sign is exactly perpendicular to the compass's vertical line. You can now use the Camera app and take your picture.
In landscape photography, composition anchors are especially helpful for establishing scale or bringing attention to a bright spot in the scene. Finding an angle that shows a flower in the foreground will give your viewer more interest even though expansive views can be grand and lovely. Although nothing compares to an ocean sunset, a large body of water and beach can get monotonous. To make your composition more intriguing and to anchor it, look for a sailboat or a seagull.
You can record the scene outside your frame for richer compositions if you're using an iPhone 11, iPhone 11 Pro, or iPhone 11 Pro Max. Your camera will automatically modify your photo for the most attractive composition if this feature is enabled in your settings. Any images that have undergone this kind of automatic editing will have a blue Auto badge in the corner.
When using the crop, straighten, or perspective tools in the Photos app, you'll notice that content captured beyond the frame shows if you want to make more modifications.
To capture a scene in front of them, most photographers reflexively hold their cameras at eye level. While this is acceptable, you may quickly spice up your images by taking pictures from above or below your subject. When taken from a worm's-eye viewpoint, buildings appear bigger and more imposing, and photographs taken from above give the picture a completely new perspective. Consider every perspective before taking your picture and choose the one that will pique the interest of your audience.
Even while iPhone photography is easy to learn, perfecting the technique takes practice—not just with your camera's settings and accessories, but also with composition and lighting. To get started capturing stunning photos with your phone, use the advice provided in this article's tips for iPhone photography.
Why? Cause a great photo deserves to be framed and put up on a wall or gifted to a loved one.
Try out the frame customization and wall designing platform, it's a load of fun!
If you like what you see, get your hands on some personalized stickable frames from Frameley with free delivery.