How to Hang a Picture With Wire: A Step-by-Step Guide

Introduction

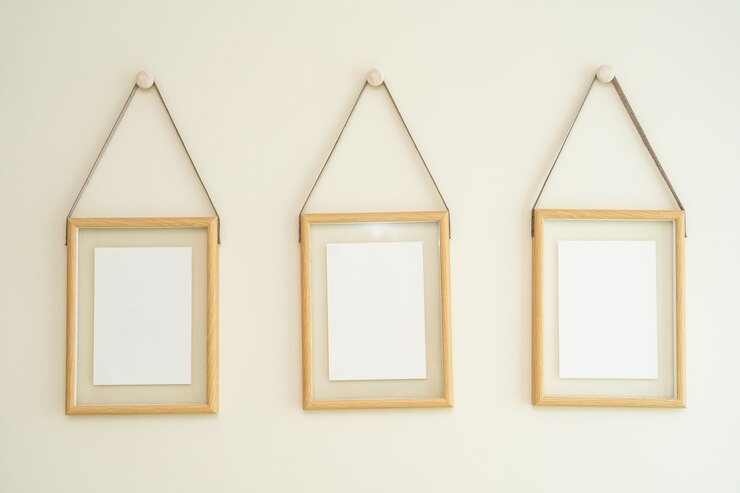
Hanging a picture with wire is one of the easiest and most secure ways to display your favorite frames, whether it’s a lightweight family photo or a heavy piece of artwork. With just a few simple tools and some basic techniques, you can ensure your picture hangs perfectly every time. This guide will walk you through each step of the process, from selecting the right wire to troubleshooting common issues, so you can create a stunning and stable display in your home.

Tools You’ll Need

Having the right picture hanging tools ensures a smooth and hassle-free process. Gather the following:

Preparation Before Hanging

1. Choose the Right Picture Wire

Select a durable wire designed to hold at least double the weight of your picture frame. Stainless steel or coated wires are ideal for their strength and longevity.

2. Assess the Frame’s Weight

Weigh your frame using a scale and match it with the wire and wall hardware’s weight capacity. For heavy frames, choose wall anchors specifically rated for your frame's weight.

3. Find the Ideal Spot on the Wall

Attaching the Wire to the Frame

Follow these detailed steps to attach the wire securely:

Step 1: Install D-Rings or Eye Hooks

Step 2: Cut the Picture Wire

Step 3: Secure the Wire

Pro Tip: Use wire rated for the frame’s weight to ensure a secure hanging method and avoid breakage.

Hanging the Picture on the Wall

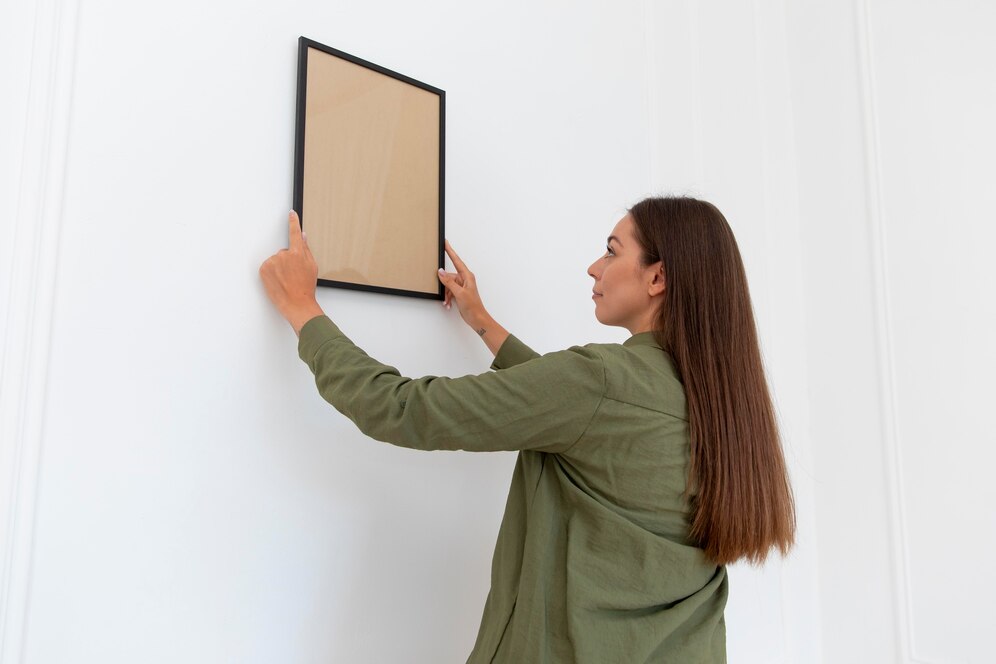
Step 1: Measure and Mark the Wall

Step 2: Install the Wall Hardware

Step 3: Hang the Picture

Why Choose Frameley for Your Picture Frames?

When it comes to framing your cherished memories, Frameley is the ultimate choice for style, durability, and customization. Whether you’re hanging a lightweight family photo or a heavy artwork, our frames are built for seamless and secure hanging.

Why Choose Frameley?

Each Frameley photo frame is crafted with precision, offering a polished finish that complements any decor—be it modern, rustic, or classic.

Choose from metal, wood, or eco-friendly materials in a variety of colors and sizes to suit your preferences.

Need a specific size or finish? Frameley offers customizable options to bring your vision to life.

Our frames are built with premium materials and protective glass or acrylic to keep your photos and art safe for years.

Designed for DIY Picture Hanging

Frameley’s frames come with pre-installed hardware like D-rings and picture wire, making DIY picture hanging easier than ever. Pair one of our frames with the steps in this guide, and you’ll have a flawless display in no time.

Troubleshooting and Expert Tips

1. Uneven Hanging

2. Wire Slipping

3. Hanging Heavy Frames Securely

Pro Tip: For secure picture hanging methods, always double-check the weight capacity of your wire and wall anchors.

Bonus Tips: Cleaning and Maintenance

By maintaining your frames, you’ll ensure they remain beautiful and functional for years to come.

Conclusion

Hanging a picture with wire is a straightforward DIY picture hanging project that can instantly elevate your space. With the right tools, techniques, and a Frameley frame, you’ll achieve a secure and polished display every time.

Share your picture-hanging tips or experiences in the comments below—we’d love to hear from you!

Renter-Friendly Ways to Hang Photos

Introduction: The Struggle of Decorating Rental Spaces

Decorating a rental home comes with a unique set of challenges. For many renters, the desire to make their space feel personal is met with the strict limitations set by landlords, often forbidding permanent changes like nails or hooks in the walls. Renter-friendly ways to hang photos can be the answer, allowing you to decorate without sacrificing your security deposit or breaking any rules.

In this guide, we’ll explore practical, stylish, and damage-free solutions to help you showcase memories and personality in your rental space.

Why Choose Renter-Friendly Hanging Solutions?

Choosing renter-friendly hanging methods doesn’t just save you from potentially costly wall repairs; it gives you freedom and flexibility to redecorate as often as you like. Knowing you can easily change things up without permanent consequences adds comfort and confidence in making the space truly yours. For anyone who values both style and functionality, renter-friendly solutions are a win-win.

Creative and Damage-Free Hanging Methods

Let’s dive into some effective and stylish methods to hang photos without causing any damage. Each technique is designed with simplicity and convenience in mind, ensuring that you can personalize your space worry-free.

Command Strips: A No-Fuss Solution

Command Strips have revolutionized wall decorations, offering a simple, nail-free way to hang photos. These adhesive strips come in various sizes, holding frames securely without damaging the wall paint. They’re easy to install and just as easy to remove, making them perfect for renters.

Tip: Always check the weight limit on the Command Strip packaging to ensure it can support your frame.

Adhesive Hooks: Flexible and Reusable

If you’re looking for a little more flexibility, adhesive hooks are a fantastic alternative. Available in different shapes and colors, adhesive hooks work well for hanging lightweight frames or even strings of photos. They’re removable and don’t require nails, making them ideal for renters.

Pro Tip: For best results, clean the surface before applying adhesive hooks and give them a few hours to set.

Poster Putty and Double-Sided Tape: Perfect for Lightweight Frames

For smaller photos or posters, poster putty and double-sided tape can be game-changers. This approach is ideal for lightweight frames and is less permanent, allowing you to reposition the photos as you please.

Advice: To avoid leaving any residue, use putty sparingly and only on walls with a sturdy finish.

Over-the-Door and Tension Rods

Over-the-door hooks and tension rods provide another option for renters looking to add flair to their space. While they’re traditionally used for curtains, tension rods can be creatively adapted to hang lightweight photo frames or strings of pictures.

Recommendation: Look for hooks that match your room's aesthetic for an added touch of style.

Leaning Frames and Shelves

A chic, hassle-free option is leaning frames and photo-ledges. Leaning frames are simple to set up and don’t require any wall modifications, while photo-ledges let you stack and rearrange photos whenever you feel like updating the space.

Style Tip: Mix and match frame sizes and styles on a ledge for a sophisticated and artsy look.

How to Prepare Your Space for Hanging Photos

When planning to decorate a rental space, a little preparation goes a long way. Here are some steps to keep in mind:

  1. Check Your Lease: Double-check your lease terms to confirm what’s allowed.
  2. Clean the Wall Surface: Ensure surfaces are dust-free for adhesive solutions to stick effectively.
  3. Select Appropriate Frames: Choose lightweight frames where possible, as they’re easier to manage and support.
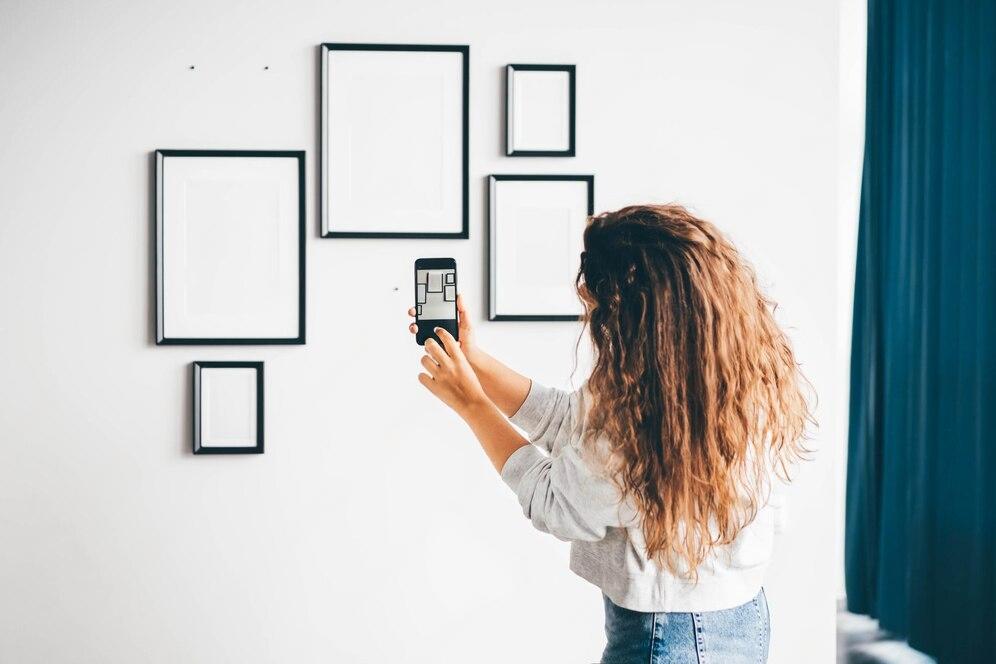
  4. Plan Your Layout: Before hanging, arrange your photos on the floor to visualize your layout.

Personalizing Your Space Without the Damage

A rental space should feel like home, and photos add that personal touch. Here are some ideas to add warmth to your space without leaving any lasting marks:

Final Thoughts: Making a Rental Feel Like Home

Making a rental feel like home doesn’t have to come at the expense of breaking lease rules or risking your deposit. By exploring renter-friendly ways to hang photos, you can add warmth, personality, and joy to your living space. These simple, stylish solutions prove that with a little creativity and the right tools, even a rental can feel like a true home.

Whether you choose Command Strips, adhesive hooks, or leaning frames, these renter-friendly options give you the freedom to personalize without the hassle of repairs. So, go ahead and make your rental feel uniquely yours—one photo at a time

How to Make a Photo Frame Collage: Step-by-Step Guide

Introduction

Creating a photo frame collage is one of the most personal and artistic ways to showcase the moments that matter most to you. A collage allows you to turn a wall into a visual storybook of memories. Whether you’re showcasing family photos, travel adventures, or a mix of favorite moments, learning how to make a photo frame collage can elevate your space while keeping your cherished memories front and center.

This guide will walk you through the process step-by-step, helping you create a stunning collage that not only looks great but touches your heart every time you see it.


What Is a Photo Frame Collage?

A photo frame collage is a collection of multiple frames arranged creatively on a wall or other surface. Rather than displaying a single picture, a collage combines several photos to form a cohesive and meaningful design. It can be symmetrical, asymmetrical, or completely freeform, depending on your style and the space you’re working with.

The beauty of a photo collage lies in its versatility. It can be as structured or as spontaneous as you want, making it the perfect way to add a personal touch to any room.


Why Create a Photo Frame Collage?

Photo collages are more than just decorative elements; they’re windows into your most precious memories. Here are some reasons why creating a photo frame collage is a great idea:

A photo frame collage allows you to honor the past while also adding artistic flair to your environment.


Choosing Your Theme for the Collage

Before you start hanging frames, it’s important to choose a theme for your photo frame collage. A theme gives your collage cohesion and helps you decide which photos to include. Here are a few popular themes you can consider:

Once you’ve decided on a theme, it becomes easier to pick the right photos and frames that best represent your vision.


Selecting the Right Frames for Your Collage

Choosing the right frames is essential in creating a beautiful and cohesive photo collage. Your frames can either match for a uniform look or vary in size, style, and color for a more eclectic design. Here’s how to choose:

Matching Frames

Mixed Frames

The key is balance. Even with a mix of frames, you want them to work together harmoniously.


How to Arrange Your Photo Collage

When arranging your photo collage, consider the layout that best fits your space. Here are some popular options:

Symmetrical Layout

A symmetrical arrangement brings order and balance to your collage. This style works well in modern spaces or rooms with minimalistic décor.

Asymmetrical Layout

An asymmetrical collage allows for more creativity and flow. This arrangement is ideal for bohemian or eclectic spaces where you want to add a touch of whimsy.

Linear Layout

A linear collage (either horizontal or vertical) is simple yet elegant, and it works especially well in hallways or above furniture.

Freeform Layout

If you’re feeling adventurous, create a freeform collage where the frames are arranged organically without strict rules. This style gives you the most freedom to express your creativity.


Tools and Materials You'll Need

To make your photo frame collage, you’ll need the following tools and materials:

Having these tools handy will make the process much smoother and help ensure that your collage looks polished and professional.


Step-by-Step Guide to Making a Photo Frame Collage

Step 1: Choose and Print Your Photos

Select the photos you want to include in your collage. Ensure the images fit well within the frames and maintain good resolution. Printing your photos with a matte finish can help avoid glare once they’re framed.

Step 2: Lay Out Your Frames on the Floor

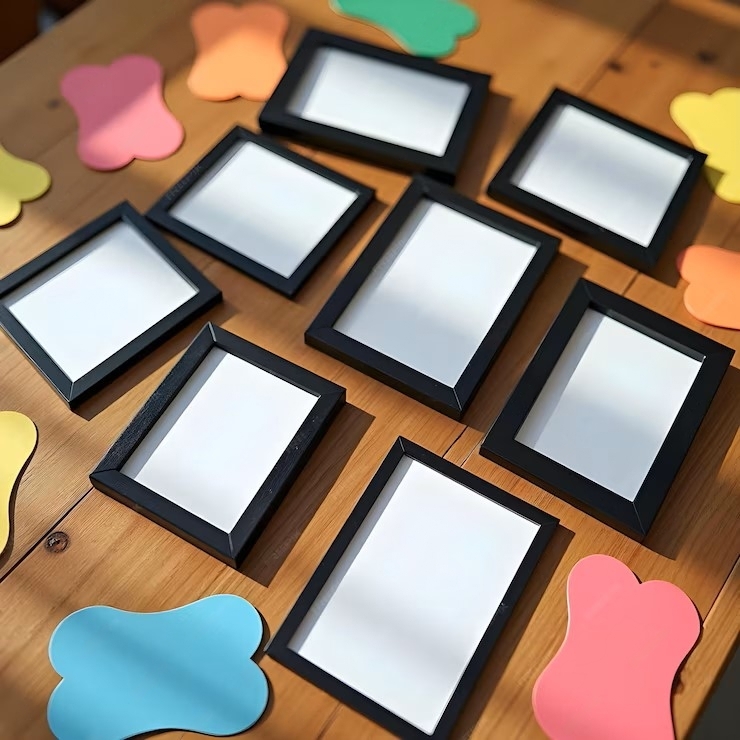
Before you start hanging, arrange the frames on the floor to get an idea of how they’ll look on the wall. Play around with different layouts until you’re happy with the composition.

Step 3: Measure Your Wall Space

Measure the wall where you’ll hang your collage. Use painter’s tape to outline the area, giving you a visual guide for spacing and layout.

Step 4: Start with a Focal Point

Begin by hanging the central frame or the largest frame first. This will act as the anchor for the rest of your collage.

Step 5: Use Consistent Spacing

Whether you’re creating a grid-like arrangement or an asymmetrical one, keep the spacing between frames consistent to create a unified look.

Step 6: Hang the Remaining Frames

Using a level, hang the remaining frames according to your floor arrangement. Be sure to step back occasionally and view the collage from a distance to ensure everything looks balanced.


Ideas for Creative Photo Collages

Looking for inspiration? Here are a few creative photo collage ideas:

Memory Lane

Create a timeline of important milestones like birthdays, graduations, and holidays. Arrange them in chronological order to walk down memory lane each time you view the collage.

Family Tree

Combine framed photos of family members into the shape of a tree, with the oldest generations at the top and younger ones below.

Monochrome Collage

Print all your photos in black and white or sepia for a timeless and cohesive aesthetic. This works especially well in modern or vintage-inspired homes.

Mix Photos with Art

Integrate small pieces of artwork, quotes, or illustrations among your framed photos to create a dynamic and varied display.

Your collage can be as personal and unique as you want it to be, making it a beautiful reflection of your life’s most cherished moments.


Conclusion

A photo frame collage is more than just a decorative element—it’s a beautiful way to tell your story, highlight your memories, and add a personal touch to your home. By following these steps and incorporating your creativity, you can make a collage that not only looks great but also evokes a deep emotional connection.

Whether you choose a symmetrical layout, mix-and-match frames, or an eclectic freeform style, the result will be a unique and meaningful display that brings joy and warmth to your space. Now is the perfect time to gather your favorite photos and start crafting a collage that you and your loved ones will treasure for years to come.

How to Organize Photo Frames on the Wall: Arrangement Ideas

Introduction

Your walls are a canvas waiting to be filled with the memories and moments you cherish. But simply hanging photos isn’t enough—how you organize photo frames on the wall can transform an empty space into a meaningful work of art. Organizing frames creatively makes a house feel like a home, and each arrangement tells a story. In this guide, we’ll walk you through the steps of organizing photo frames in ways that will touch your heart and enhance your living space.


Why Organizing Frames Matters

The way photo frames are arranged can dramatically affect the atmosphere of a room. A cluttered, chaotic arrangement can feel overwhelming, while a well-thought-out organization can evoke feelings of harmony, nostalgia, or even joy. It’s not just about hanging a picture—it’s about crafting a story on your wall that speaks to you every time you walk by.

When you carefully plan how to organize photo frames, you’re not just displaying images. You’re honoring the people, places, and moments that matter most. This process can also give you a chance to connect emotionally with your home, making it a more welcoming, personal space.


Types of Photo Frame Arrangements

The arrangement of your frames will set the tone for the entire room. Here are a few common types of photo frame arrangements that work well for most spaces:

The Grid

For those who love order, the grid offers a symmetrical layout, giving your room a clean, balanced look.

The Gallery Wall

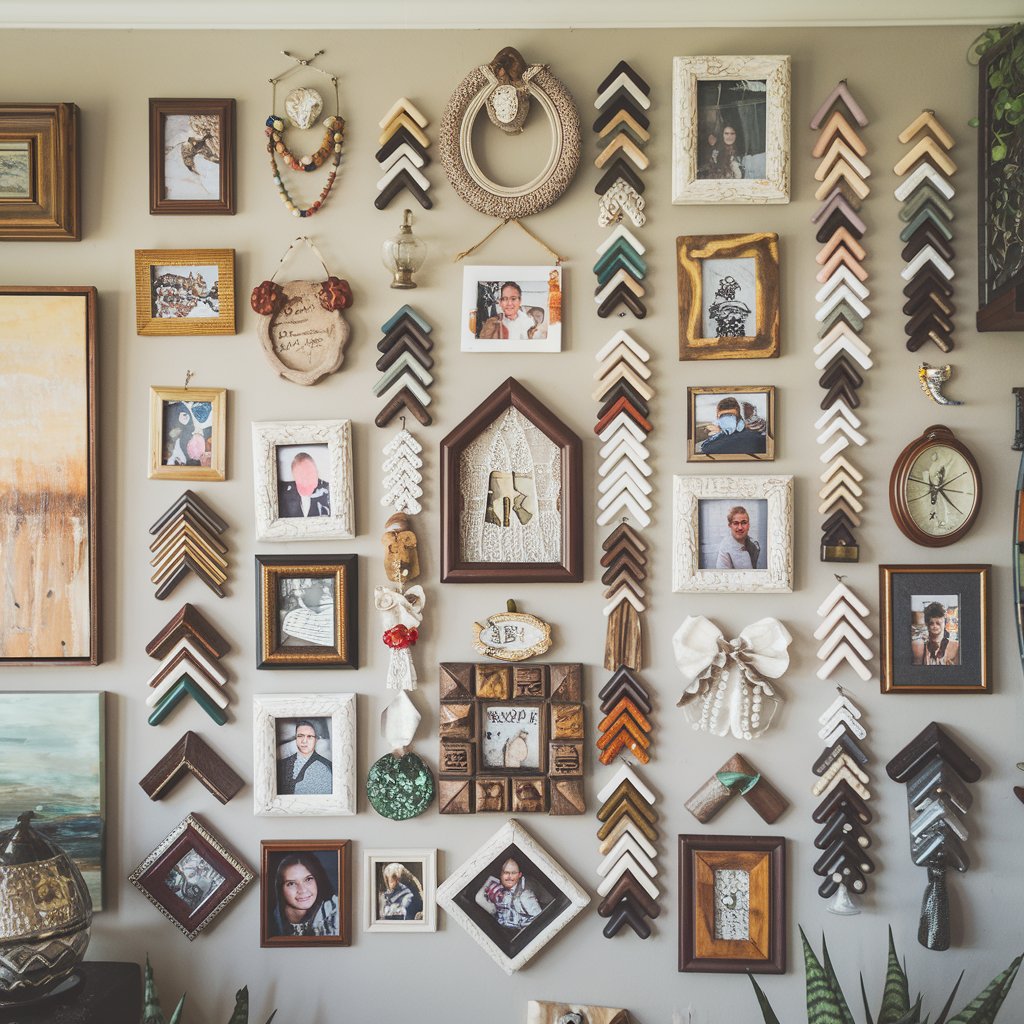
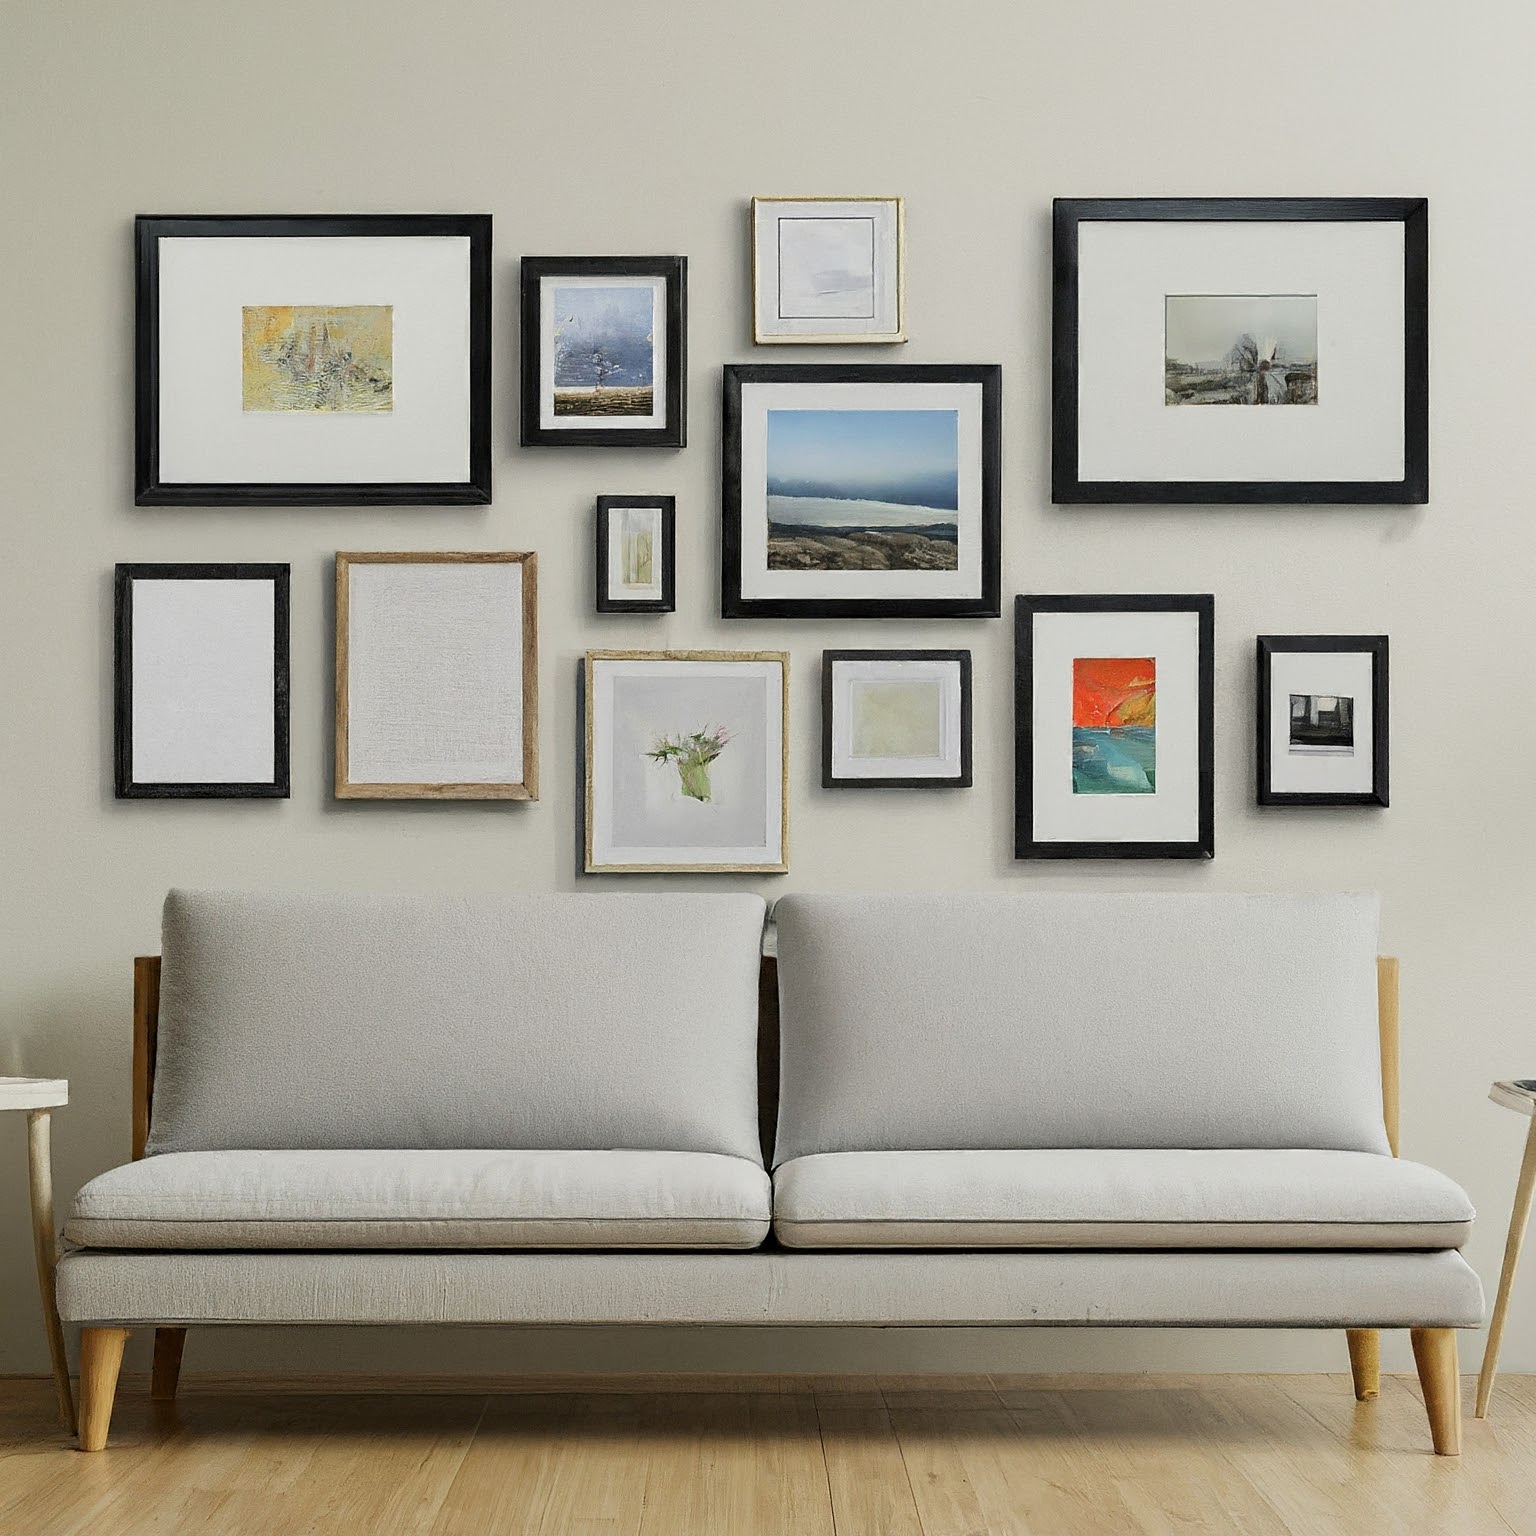
An eclectic mix of frames in varying sizes, shapes, and styles that come together to create a beautiful focal point in your space.

The Linear Arrangement

Perfect for hallways or over furniture, this layout aligns frames in a straight horizontal or vertical line, adding structure to your wall.

The Asymmetrical Cluster

For those who prefer a more laid-back, artistic vibe, asymmetrical clusters of frames create an interesting, dynamic display.

Choosing the right arrangement style depends on your personal taste, room size, and the type of photos you want to highlight.


Choosing the Best Wall for Your Frames

The first step in organizing photo frames on the wall is selecting the perfect wall. Consider these factors:

Choosing the right wall helps set the stage for your photo frame arrangement, ensuring it feels natural and well-integrated into the space.


Step-by-Step Guide to Organizing Photo Frames

Step 1: Plan Your Layout

Start by laying the frames on the floor and experimenting with different layouts. You can use painter’s tape to outline where the frames will go on the wall before committing.

Step 2: Choose a Focal Point

If you have one large photo or a meaningful piece of art, consider making it the focal point. Arrange smaller frames around it to create balance.

Step 3: Mix and Match Frames

To add depth and visual interest, mix different frame styles, colors, and materials. The contrast can bring the arrangement to life.

Step 4: Consider Spacing

For grid or linear arrangements, keep the spacing between frames consistent. For a gallery wall, you can play with spacing, allowing some frames to sit closer together than others.

Step 5: Hang the Frames

Use a level and measuring tape to ensure each frame is hung correctly. This step is crucial, especially for symmetrical or linear arrangements where a crooked frame can throw off the entire display.


How to Create a Gallery Wall

A gallery wall is one of the most popular and creative ways to organize photo frames on the wall. Here’s how you can craft a stunning gallery wall that will wow your guests:

1. Choose Your Theme

A theme ties the frames together. It could be family photos, travel memories, or a mix of artwork and photography.

2. Vary the Frame Sizes

For a true gallery feel, use different-sized frames. Large pieces mixed with smaller ones add depth and create visual intrigue.

3. Arrange Frames Before Hanging

Lay the frames on the floor and try different layouts before making any holes in the wall. Painter's tape is helpful for marking placement on the wall to avoid errors.

4. Balance with Negative Space

A gallery wall doesn’t need to cover every inch of space. Use empty wall space to balance the arrangement, giving your eyes a place to rest.

A gallery wall should feel like an extension of your personality, offering a snapshot of your most cherished moments.


Symmetry vs. Asymmetry: Which Style Is Best?

When organizing photo frames, deciding between symmetry and asymmetry depends on the look you want to achieve.

Symmetry

Symmetrical arrangements are clean and orderly. They work well for modern, minimalist spaces where balance and uniformity are key.

Asymmetry

Asymmetrical arrangements bring more energy and playfulness to the room. They’re perfect for eclectic homes and artistic spaces where creativity shines.

Both approaches can create stunning displays, so choose the one that resonates with your style.


Incorporating Different Frame Sizes and Styles

One of the best ways to organize photo frames on the wall is by mixing different frame sizes and styles. Here’s how:

The key is to ensure that all frames, no matter their size or style, feel cohesive within the overall layout.


Common Mistakes to Avoid When Organizing Frames

Mistake 1: Overcrowding the Wall

Too many frames can overwhelm a space. Remember to leave some breathing room between frames for a cleaner look.

Mistake 2: Not Considering Frame Heights

Frames should be hung at a comfortable viewing height. If they’re too high or too low, they won’t create the desired visual impact.

Mistake 3: Not Planning the Layout First

Never start hammering nails without planning the layout. Always map out the arrangement on the floor or using tape before hanging.

By avoiding these common mistakes, you’ll ensure that your frame arrangement feels balanced and intentional.


Conclusion

Organizing photo frames on the wall isn’t just about displaying pictures—it’s about telling a story, evoking memories, and transforming your space into something personal and beautiful. With the right planning, layout, and style choices, your wall of frames can become the heart of your home. Each time you pass by, you’ll be reminded of the moments and people that mean the most to you.

Organize with care, and watch as your wall of frames becomes a timeless reflection of your life’s most cherished memories.

How to Hang a Picture Frame on Wall: A Step-by-Step Guide

Introduction:

Hanging a picture frame may seem like a simple task, but if you've ever struggled with crooked frames, wall damage, or unbalanced compositions, you know how frustrating it can be. Whether you're adding a personal touch to your home, showcasing precious memories, or displaying artwork, how you hang a picture frame can make all the difference. In this guide, we’ll take you through a heartfelt, step-by-step process on how to hang picture frames on walls, with tips and emotional insights that make this task more than just a chore—it’s about turning a house into a home.


Choosing the Right Spot

Before you grab a hammer and nails, it’s important to choose the right location for your picture frame. Think about the emotional resonance of the photo or artwork you’re hanging. Do you want it to be the centerpiece of the room or a subtle addition? Your wall isn’t just a space—it’s a canvas, and the way you hang your pictures can reflect your memories, style, and personality.

Key Considerations:

Essential Tools for Hanging Picture Frames

Before you begin, gather the right tools. The proper tools can save you time and help you avoid unnecessary frustration. Here’s what you’ll need:

Having these essentials on hand will help you tackle the task with confidence, so nothing comes between you and the memories you wish to showcase.


Step 1: Measure Your Space

This is where precision meets personal emotion. Take your time and measure your wall carefully before making any decisions. Ask yourself, “How will this picture make me feel every time I see it?” The right placement can spark joy, while an ill-placed frame can become a daily annoyance.

Measuring Tips:


Step 2: Choose the Right Hanging Method

Different wall types and frame weights require different hanging methods. Making the wrong choice can result in wall damage or a fallen frame. Here’s how to choose the right one:

Make sure to factor in the emotional value of the frame itself—whether it’s a priceless family photo or a piece of artwork you’ve loved for years, it deserves the right care and attention.


Step 3: Prepare the Wall

Clean the wall before you begin to ensure a secure grip. For an extra touch of care, think about how the wall itself contributes to the space. A clean wall, free from dust or marks, highlights the beauty of the frame.


Step 4: Mark and Drill

With your measuring tape in hand and the right spot chosen, it’s time to mark where your frame will hang. This is where precision comes in, but also, don’t rush—this is a moment to reflect on how this image will impact your living space.


Step 5: Hang the Frame

This is the moment when all your hard work pays off, and the frame goes up on the wall. Hang your frame with care and intention, aligning it to your marks.


Aligning and Leveling the Frame

Even the smallest tilt can be distracting, so grab your level to ensure the frame is perfectly aligned. This step can make a significant difference to the overall look of the room.

How to Level:


Final Tips for Hanging Multiple Frames

Creating a gallery wall or grouping frames together requires extra care, but the result can be incredibly rewarding. When done thoughtfully, multiple frames can turn a plain wall into a story-filled masterpiece.

Tips for Grouping Frames:


Caring for Your Wall and Frame

Once your frames are up, it’s important to maintain both the frames and the walls. This simple care will keep your display looking fresh and meaningful for years to come.


Frequently Asked Questions

Q1: Can I hang a frame without nails?

Yes! For lightweight frames, adhesive strips or hooks work great and prevent damage to your wall.

Q2: How do I hang a frame on drywall?

For drywall, use wall anchors to secure the frame, especially for medium to heavy frames.

Q3: What if my wall is uneven?

Use adjustable hooks or adhesive strips, and always use a level to make final adjustments.


Conclusion: Hanging a picture frame isn’t just about decoration—it’s about surrounding yourself with memories, cherished moments, and art that speaks to your soul. The time and effort you put into hanging a picture frame on your wall is time spent creating a home that truly reflects who you are. Follow these steps, trust your instincts, and enjoy the results!

10 Unique Ideas to Personalize Your Customized Photo Frames

Customized photo frames are a wonderful way to bring your personal style and creativity into any space. Whether you’re looking to add a personal touch to your home or office, or create a meaningful gift, personalizing photo frames can make your photos stand out even more. Here are 10 unique ideas to personalize your customized photo frames.

1. Incorporate Handwritten Messages

Add a personal touch by including a handwritten message on your photo frame. Whether it’s a quote, a date, or a special note, this simple addition can make the frame even more meaningful. You can write directly on the frame, or have the message engraved for a more permanent option.

Tips:

2. Use Mixed Materials

Combine different materials like wood, metal, and acrylic to create a frame that’s not only visually interesting but also tailored to your aesthetic. For example, a wooden frame with metal accents can add a rustic yet modern feel to your décor.

Ideas:

3. Add Embellishments and Textures

Enhance your frame with embellishments like beads, rhinestones, or fabric to create a textured and tactile experience. This is especially great for frames that will be used in creative or playful spaces.

Suggestions:

4. Incorporate a Collage Design

Instead of framing just one photo, design your frame to hold multiple photos in a collage format. This can tell a story or capture different moments from the same event, making it a dynamic and engaging display.

Design Tips:

5. Engrave Special Dates or Coordinates

Engraving special dates like anniversaries, birthdays, or the coordinates of a meaningful place adds a deeply personal element to your frame. This is a great option for commemorating special moments or places.

Examples:

6. Create a Themed Frame

Match the theme of the photo with the design of the frame. For example, a photo from a beach vacation can be framed in a nautical-themed frame, or a wedding photo in an elegant, ornate frame.

Theme Ideas:

7. Include a Pop of Color

Add a pop of color to your frame by painting or incorporating colored elements that match your décor or the colors in the photo. This is an easy way to make the frame stand out and complement the photo.

Color Ideas:

8. Incorporate Quotes or Song Lyrics

Add a favorite quote or lyrics from a song that resonates with the photo. This can be printed on the matting around the photo, or directly on the frame itself, adding a layer of meaning to your display.

How to Incorporate:

9. Add a Background Design

Instead of using a plain background, add a design that complements your photo. This could be a subtle pattern, a map, or even a favorite fabric. The background adds depth and context to your framed photo.

Background Ideas:

10. Create a Shadow Box Frame

Transform your customized photo frame into a shadow box to include three-dimensional elements like keepsakes, tickets, or small souvenirs. This creates a mini-display that tells a more complete story.

Shadow Box Tips:

Conclusion

Personalizing customized photo frames is a creative way to make your photos even more special. By incorporating these unique ideas, you can design frames that reflect your personality, tell a story, or enhance the beauty of the photos they hold. Whether you’re decorating your home, office, or creating a meaningful gift, these personalized touches can turn a simple photo frame into a cherished keepsake.

How to Design Your Own Custom Photo Frame with Frameley

Introduction

Photo frames are more than just a way to display pictures; they’re a means of preserving memories, adding a touch of personal flair to your living spaces, and showcasing your unique style. Custom photo frames take this a step further by allowing you to create something truly one-of-a-kind that perfectly complements your photos and decor. Frameley, a leading platform for custom photo frames, offers a comprehensive set of tools that make the design process both fun and easy. This guide will walk you through the step-by-step process of using Frameley's customization tools and provide tips on selecting materials, colors, and styles to create the perfect custom frame.

Step-by-Step Guide to Using Frameley's Customization Tools

1. Getting Started with Frameley

The first step in creating your custom photo frame is to get started on the Frameley platform.

2. Uploading Your Photo

The photo you choose will be the centerpiece of your custom frame, so it’s important to select one that you love.

3. Choosing the Frame Style

Frameley offers a wide range of frame styles to suit any taste and decor.

4. Selecting the Frame Material

The material of your frame plays a crucial role in its appearance and durability.

5. Picking the Perfect Color

Color is a powerful tool in design, impacting the mood and style of your frame.

6. Adding Matting and Borders

Matting and borders can enhance the visual impact of your framed photo.

7. Incorporating Decorative Elements

Adding decorative elements can make your custom frame even more special.

8. Previewing Your Design

Before finalizing your design, take advantage of Frameley’s preview tools.

9. Placing Your Order

Once you’re happy with your design, it’s time to place your order.

10. Receiving and Displaying Your Frame

When your custom frame arrives, follow these tips to display it beautifully.

Tips on Selecting Materials, Colors, and Styles

Choosing the Right Material

Selecting the Ideal Color

Finding Your Style

Conclusion

Creating a custom photo frame with Frameley is a rewarding experience that allows you to preserve your memories in a unique and personal way. By following this step-by-step guide, you can easily navigate Frameley's customization tools and design a frame that perfectly suits your photo and decor. Remember to consider the materials, colors, and styles that best match your vision and don’t be afraid to experiment with different combinations. With Frameley, the possibilities are endless, and the result is a beautiful, personalized frame that you’ll cherish for years to come. Start designing your custom frame today and enjoy the satisfaction of creating something truly special.

How to Hang Photo Frames Without Nails

Introduction

Hanging photo frames is an excellent way to add a personal touch and aesthetic appeal to your living space. However, the challenge arises when you want to display your favorite pictures without causing damage to your walls with nails. Whether you’re living in a rental with strict rules or simply prefer not to use nails, there are several innovative and effective methods to achieve a beautifully decorated wall without any permanent changes.

Understanding the Basics

Before exploring various hanging methods, it's critical to understand both the nature of the walls in your home and the weight of the frames you wish to hang. Different wall materials—such as drywall, plaster, or brick—may react differently to adhesives and supports. Lightweight frames are easier to manage, but with the right tools and techniques, even heavier frames can be securely hung without the need for nails. It's about choosing the right method for the frame and wall type to ensure everything stays securely in place without any damage.

Methods for Hanging Frames Without Nails

Adhesive Strips and Hooks

Adhesive strips and hooks are a popular choice for hanging frames because they are simple to use, can reliably bear weight, and leave no trace once removed. To effectively use these products, start by selecting the appropriate size and type that can support the weight of your frame as specified by the manufacturer. Clean the wall surface where the strip will be placed using isopropyl alcohol or a simple water-vinegar mix; this ensures that the wall is free of dust and grease, allowing the adhesive to bond properly. Apply the strip or hook according to the manufacturer's instructions, pressing it firmly against the wall. It’s important to let the adhesive set for the amount of time recommended—typically a few hours—before hanging the frame to ensure the bond is strong and stable.

Hook-and-Loop Tapes

Hook-and-loop tapes, such as Velcro, are another excellent option for those seeking a nail-free solution. This method is particularly useful for those who frequently change their decor, as it allows for easy adjustment and removal without wall damage. Attach one side of the Velcro tape to the back of the frame and the other to the wall, making sure that each piece is aligned correctly to keep the frame straight. Press firmly to establish a secure connection. This method is best suited for lighter frames and works well on most flat surfaces.

Tension Rods

Tension rods present a creative and versatile solution, especially for renters who cannot make permanent alterations to their space. Place a tension rod between two walls, such as in a doorway or between two cabinets, and hang your frames from the rod using hooks or clips. This method not only avoids wall damage but also adds an element of flexibility to how you display your art, as you can easily change the layout or swap pictures without any hassle.

Ceiling Hooks

For those who prefer not to attach anything to their walls, ceiling hooks offer an elegant alternative. Install hooks into the ceiling and use decorative chains, ropes, or ribbons to hang your frames. This method can create a dramatic visual display and is particularly effective for heavier frames, provided the ceiling supports are installed correctly and securely.

Magnetic Paint and Magnetic Strips

Magnetic paint and strips offer a unique and flexible method for hanging art without nails. Apply magnetic paint to a designated area on your wall, and attach small magnetic strips to the back of your frames. The painted area now acts as a magnetically receptive surface where you can arrange and rearrange your frames effortlessly. This method is ideal for those who love to frequently refresh their wall displays.

Introducing Frameley.com: A Revolution in Home Decor

Amid exploring traditional hanging methods, let’s spotlight Frameley.com, a trailblazer in the realm of home decor. Frameley offers an array of stickable photo frames that adhere securely to walls without nails, screws, or any permanent fixtures. These innovative frames are perfect for anyone seeking a flexible and damage-free hanging solution, from renters to homeowners who frequently update their decor.

Explore Our Nail-Free Photo Frames:

Our selection at Frameley.com is designed for ease of use, offering a clean, modern look without compromising on security or style. The frames are crafted to adhere strongly to various surfaces and can be removed cleanly without leaving residues.

Visit Our Resource Page:

For detailed guidance on how to best use our products, please visit Frameley's Nail-Free Photo Frames Resources. Here you will find step-by-step instructions, tips for best practices, and creative ideas to enhance your space with Frameley frames.

Why Choose Frameley?

Choosing Frameley means opting for a hassle-free, innovative solution to hang your cherished photos and artworks. Our products are designed to be as functional as they are aesthetically pleasing, providing a versatile option for decorating any space.

Magnetic Paint and Magnetic Strips

Magnetic paint and strips offer a unique and flexible method for hanging art without nails. Apply magnetic paint to a designated area on your wall, and attach small magnetic strips to the back of your frames. The painted area now acts as a magnetically receptive surface where you can arrange and rearrange your frames effortlessly. This method is ideal for those who love to frequently refresh their wall displays.

Conclusion

The desire to decorate your home with art and photos doesn't have to mean damaging your walls. With these innovative methods, from adhesive hooks to Frameley’s revolutionary stickable frames, you can adorn your space with all the flexibility and style you desire. Embrace these nail-free options and transform your living space into a dynamic, personalized gallery.

How to Use Photo Frames in Interior Design

In the realm of interior design, every detail counts. One such detail that often gets overlooked but can significantly impact the aesthetics of a space is the humble photo frame. Photo frames are not just for displaying cherished memories; they can also be powerful tools to enhance the overall design of a room. Let's delve into how you can use photo frames effectively in your interior design scheme.

Choose Frames that Complement Your Décor

When selecting photo frames, consider the existing décor elements in your space. Opt for frames that complement the colors, textures, and style of your furniture and accessories. For a cohesive look, match the frame's material, such as wood, metal, or acrylic, to other elements in the room. This ensures that the frames blend seamlessly with your décor, enhancing the overall aesthetic of the space.

Create a Gallery Wall

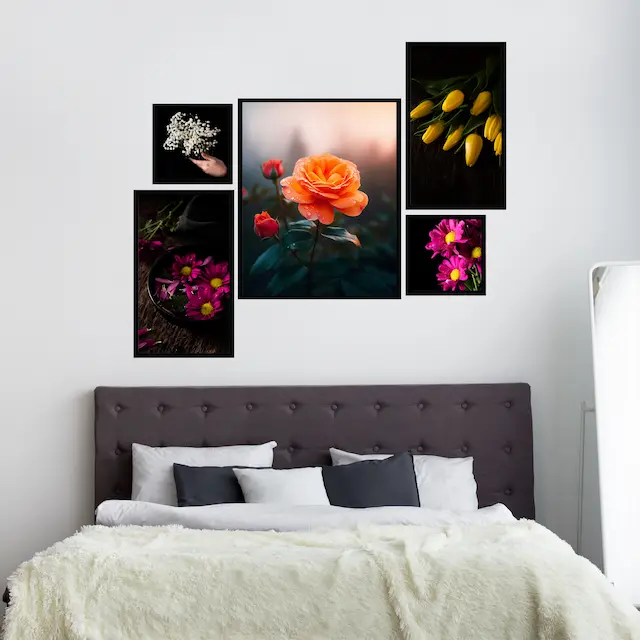
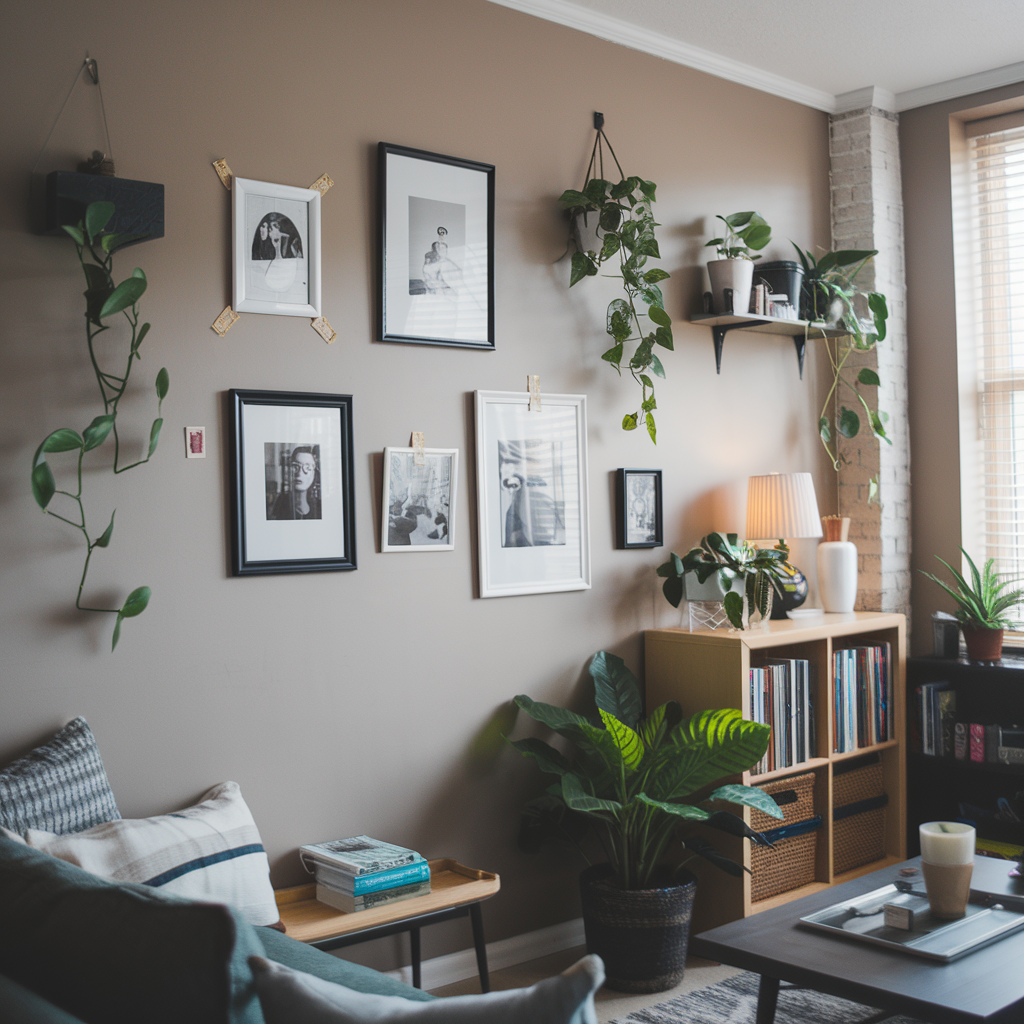
Gallery walls are a popular trend that allows you to showcase multiple photos or artworks. To create a visually appealing gallery wall, mix and match different frame sizes, shapes, and finishes. Arrange them in a balanced layout, considering the spacing between frames and the overall composition. A well-curated gallery wall can add personality and charm to a room, turning a blank wall into a focal point.

Highlight a Focal Point

Use a large, eye-catching frame to highlight a focal point in your room, such as a fireplace, bed, or console table. This creates a visual anchor and draws attention to the area, adding depth and interest to the space. By choosing a frame that stands out, you can create a striking contrast that enhances the overall design of the room.

Tell a Story with Your Frames

Photo frames can be used to tell a story or convey a theme. For example, create a travel-themed display with frames showcasing photos from your adventures, or tell the story of your family with a timeline of photos arranged chronologically. This adds a personal touch to your décor, making the space feel more intimate and inviting.

Incorporate Frames into Your Styling

Photo frames can be incorporated into your styling to add a personal touch. Place framed photos on shelves, mantels, or side tables, alongside other decorative objects, to create a curated look that reflects your personality. Mix and match frames with other items, such as vases, candles, or books, to create a cohesive and visually appealing display.

Consider the Placement

When placing photo frames, consider the viewing angle and the impact of natural light. Avoid placing frames in direct sunlight, as it can cause photos to fade. Instead, position them where they can be viewed comfortably from various vantage points in the room. This ensures that your framed photos are visible and can be enjoyed by you and your guests.

Mixing Frames with Other Decor Elements

In addition to complementing your existing décor, photo frames can also be used to enhance other design elements in your space. For example, you can use frames to accentuate a particular color scheme by choosing frames in complementary or contrasting colors. Similarly, you can use frames to echo or contrast with the shapes and patterns present in your furniture and accessories. This creates a cohesive and harmonious look that ties the room together.

Using Frames to Create Depth and Dimension

Photo frames can also be used strategically to create a sense of depth and dimension in your space. For instance, placing a series of frames along a hallway can create the illusion of a longer and more spacious area. Similarly, using frames of varying sizes and depths on a wall can add visual interest and complexity to an otherwise flat surface. This technique can be particularly effective in small or narrow spaces, where it can make the room feel larger and more dynamic.

Frames as Statement Pieces

In some cases, a photo frame itself can be a statement piece in your interior design. Consider choosing frames with intricate designs, unique shapes, or unusual materials to add a touch of personality and flair to your space. A bold and eye-catching frame can serve as a focal point in a room, drawing attention and adding a touch of drama. This can be especially effective in minimalist or understated spaces, where a statement frame can add a pop of color or texture.

Customizing Frames for a Personal Touch

To truly personalize your interior design, consider customizing your photo frames. Many framing shops offer customization options, such as choosing the frame's material, finish, and matting. You can also consider adding personal touches, such as engraving or embellishments, to make your frames truly unique. This allows you to create a one-of-a-kind piece that reflects your style and personality, adding a personal and meaningful touch to your décor.

Conclusion

In conclusion, photo frames are versatile accessories that can elevate your interior design. By choosing the right frames, arranging them thoughtfully, and incorporating them into your décor, you can create a space that is not only visually appealing but also meaningful and reflective of your personal style. Whether you're creating a gallery wall, highlighting a focal point, or using frames to enhance other design elements, the possibilities are endless. So, go ahead, get creative, and transform your space with the power of photo frames.

10 Creative DIY Ideas for Personalized Photo Frames

In an age of digital photos and short-lived internet moments, a photograph's physical presence has a certain charm and value. These priceless memories take on new meaning when they are preserved in a personalised photo frame. They become treasured mementos that decorate our homes and bring back happy memories.

With these 10 DIY photo frame ideas, you can get creative and showcase your memories in handmade frames that express your unique style. These projects are perfect for all skill levels, so feel free to express your creativity and try your hand at DIY projects or craftiness for the first time.

Get your craft supplies ready, let your creativity loose, and get ready to turn ordinary photos into amazing works of art. You'll create unique frames that will preserve your memories and enhance your home décor with a little personalization.

In this article, we’ll explore ten creative DIY ideas for personalized photo frames that you can try at home.

10 Creative and easy DIY Photo Frame Ideas

1. Scrapbook Photo Frame


If you have a lot of memorabilia from an event, like a concert or vacation, why not create a scrapbook photo frame? You can add photos, tickets, postcards, and other memorabilia to the frame to create a unique display. Choose a plain wooden frame, paint it with your favorite color, and then start arranging your memorabilia. You can use a glue gun to secure everything in place.

2. Nature-Inspired Photo Frame


Bring the beauty of nature indoors by creating a nature-inspired photo frame. Collect twigs, leaves, and other natural materials from your backyard or local park. Glue them onto the frame in a pattern or design that you like. You can also paint the frame with earthy tones to complement the natural materials.

3. Vintage-Inspired Photo Frame


If you love the vintage look, then this photo frame idea is perfect for you. Start by finding a plain wooden frame, and then distress it with sandpaper or a wire brush. You can also paint it with a white or cream-colored chalk paint for a shabby-chic look. Then, find an old book or newspaper and cut out some words or phrases that resonate with you. Glue them onto the frame to create a vintage-inspired design.

4. Washi Tape Photo Frame


Washi tape is a decorative Japanese masking tape that comes in a variety of colors and patterns. You can use washi tape to decorate a plain photo frame and add a pop of color. Simply choose your favorite washi tape, and start wrapping it around the frame in a pattern or design that you like. You can also mix and match different tapes for a fun and playful look.

5. Polaroid-Inspired Photo Frame


If you love the look of Polaroid pictures, then this photo frame idea is perfect for you. You can buy Polaroid-style photo paper that you can print your pictures on, and then create a frame that looks like a real Polaroid picture. Start by finding a plain white photo frame and paint it with a bright color. Then, use a black marker to draw a border around the frame. Finally, use a glue gun to attach your Polaroid-style pictures to the frame.

6. Clothespin Photo Frame


A clothespin photo frame is a fun and easy way to display your photos. It is the perfect option if you're going for a rustic look. You can buy plain wooden clothespins and decorate them with paint, washi tape, or glitter. Then, attach them to a string or wire and hang them on a frame or pin them directly to the wall.

7. Map Photo Frame


If you love to travel, then a map photo frame is a perfect way to showcase your adventures. Start by finding an old map or printing out a map of your favorite destination. Then, glue it onto a plain wooden frame. You can also add a tag with the name of the destination and the date of your visit.

8. Button Photo Frame


Buttons are a fun and playful way to decorate a photo frame. Find a plain wooden frame and paint it with a bright color. Then, start gluing buttons onto the frame in a pattern or design that you like. You can also mix and match different sizes and colors of buttons for a playful look.

9. Ribbon Photo Frame


Ribbon is a versatile material that you can use to decorate a photo frame. Choose a plain wooden frame and paint it with your favorite color. Then, wrap ribbon around the frame in a pattern or design that you like. You can also add a bow or knot at the top or bottom of the frame for a decorative touch.

10. Lace Photo Frame


Lace is a delicate and beautiful material that you can use to create a vintage-inspired photo frame. Find a plain wooden frame and paint it with a pastel color, such as pink or blue. Then, glue lace onto the frame in a pattern or design that you like. You can also add pearls or other embellishments for a glamorous touch.


Personalized photo frames are a beautiful and creative way to showcase your memories and add a personal touch to your home decor. With these 10 DIY ideas, you can transform ordinary photo frames into works of art and celebrate your cherished moments. Whether you love the vintage look or prefer a modern and playful design, there's a personalized photo frame idea for everyone. So grab your supplies and start creating!

If you are looking for high-quality personalized photo frames, Frameley is a great option. They offer a wide range of customizable frames in various materials and sizes, including wood, metal, and acrylic. You can add text, images, or even custom artwork to your frame, making it a truly unique and personal piece. Their frames are also durable and long-lasting, ensuring that your memories will be protected for years to come. With excellent customer service and fast shipping, Frameley is a great choice for anyone looking to create a one-of-a-kind personalized photo frame.